If you'd like to learn how to create a custom, branded look for your signers when they receive your SignRequest emails, then follow these steps:
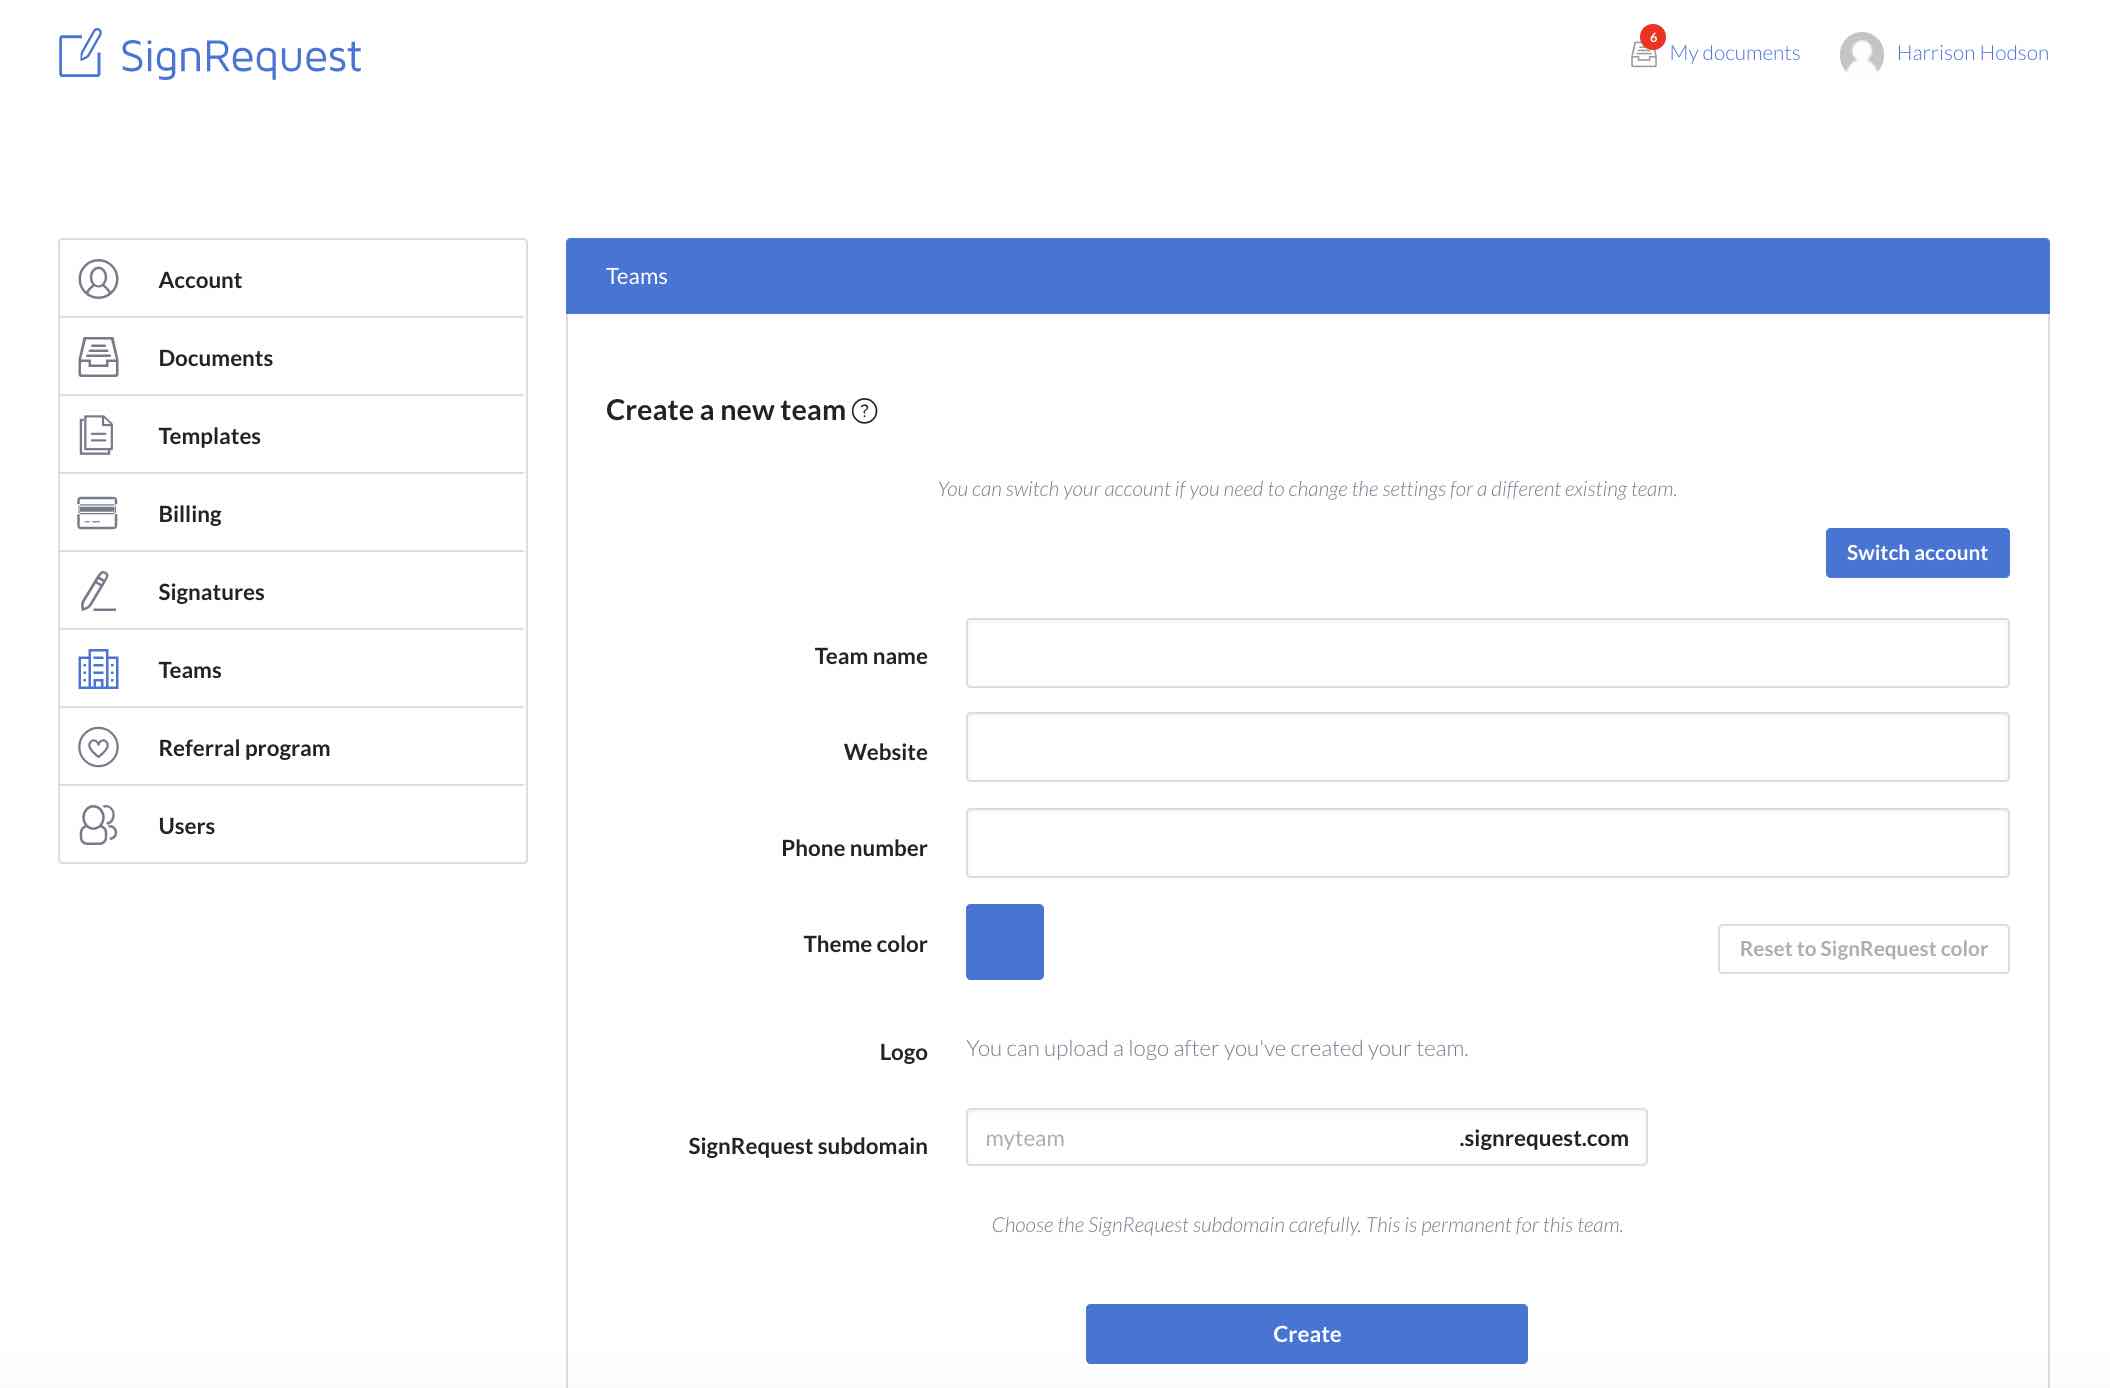
1. To start customizing, first, create a team.
*You'll need to at least be on the Professional or Business subscription to have access to the Teams feature.
a) Go to the "Teams" tab.
b) Enter a Team Name, and optionally a website and phone number.
c) Create a unique SignRequest subdomain URL for your team.
d) Click "Create".

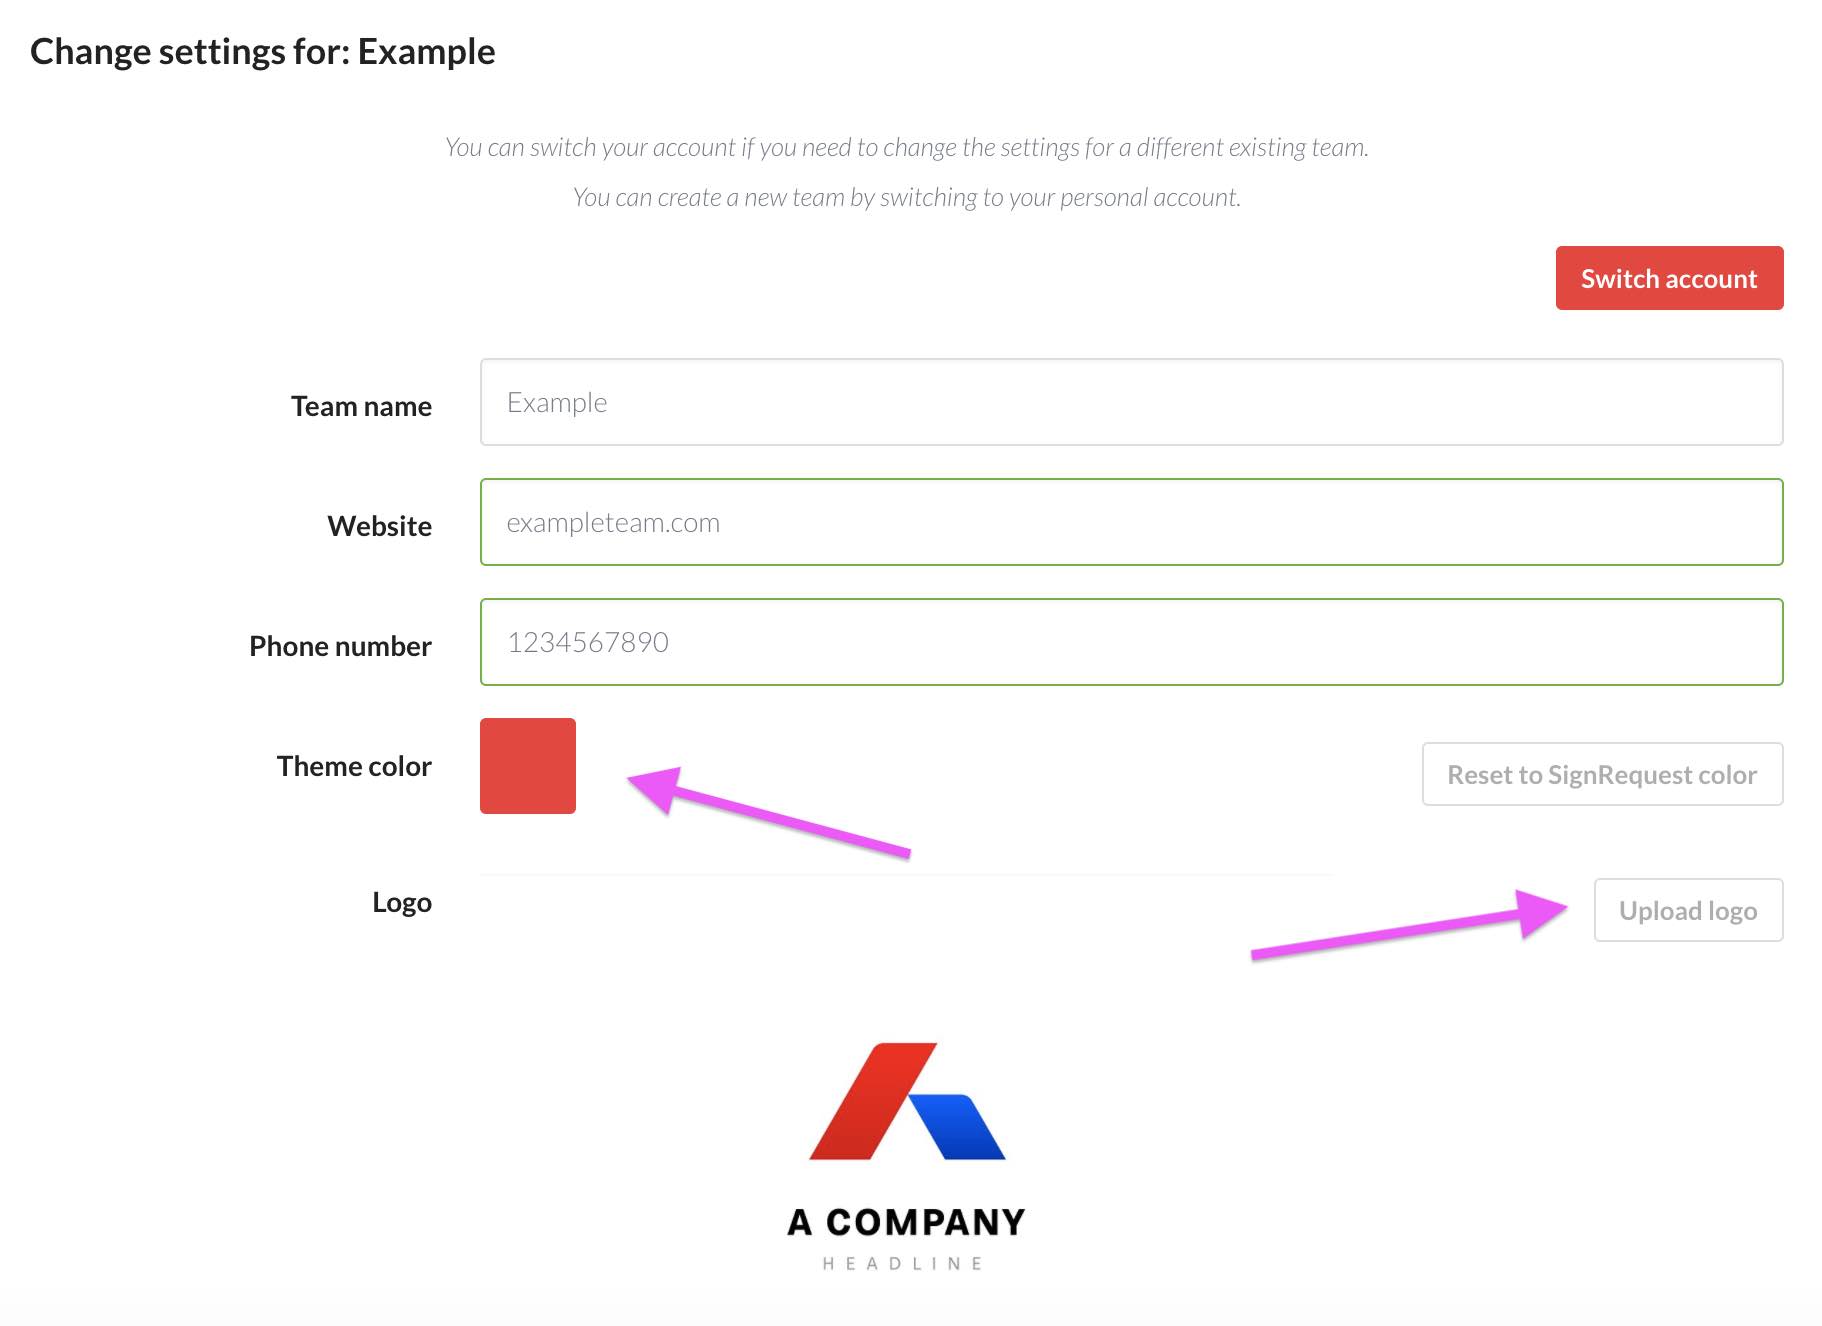
2. Once you've created a team, you can customize your Theme Color, and upload a Company Logo.
These initial customizations will appear on the SignRequest email that your signers receive.

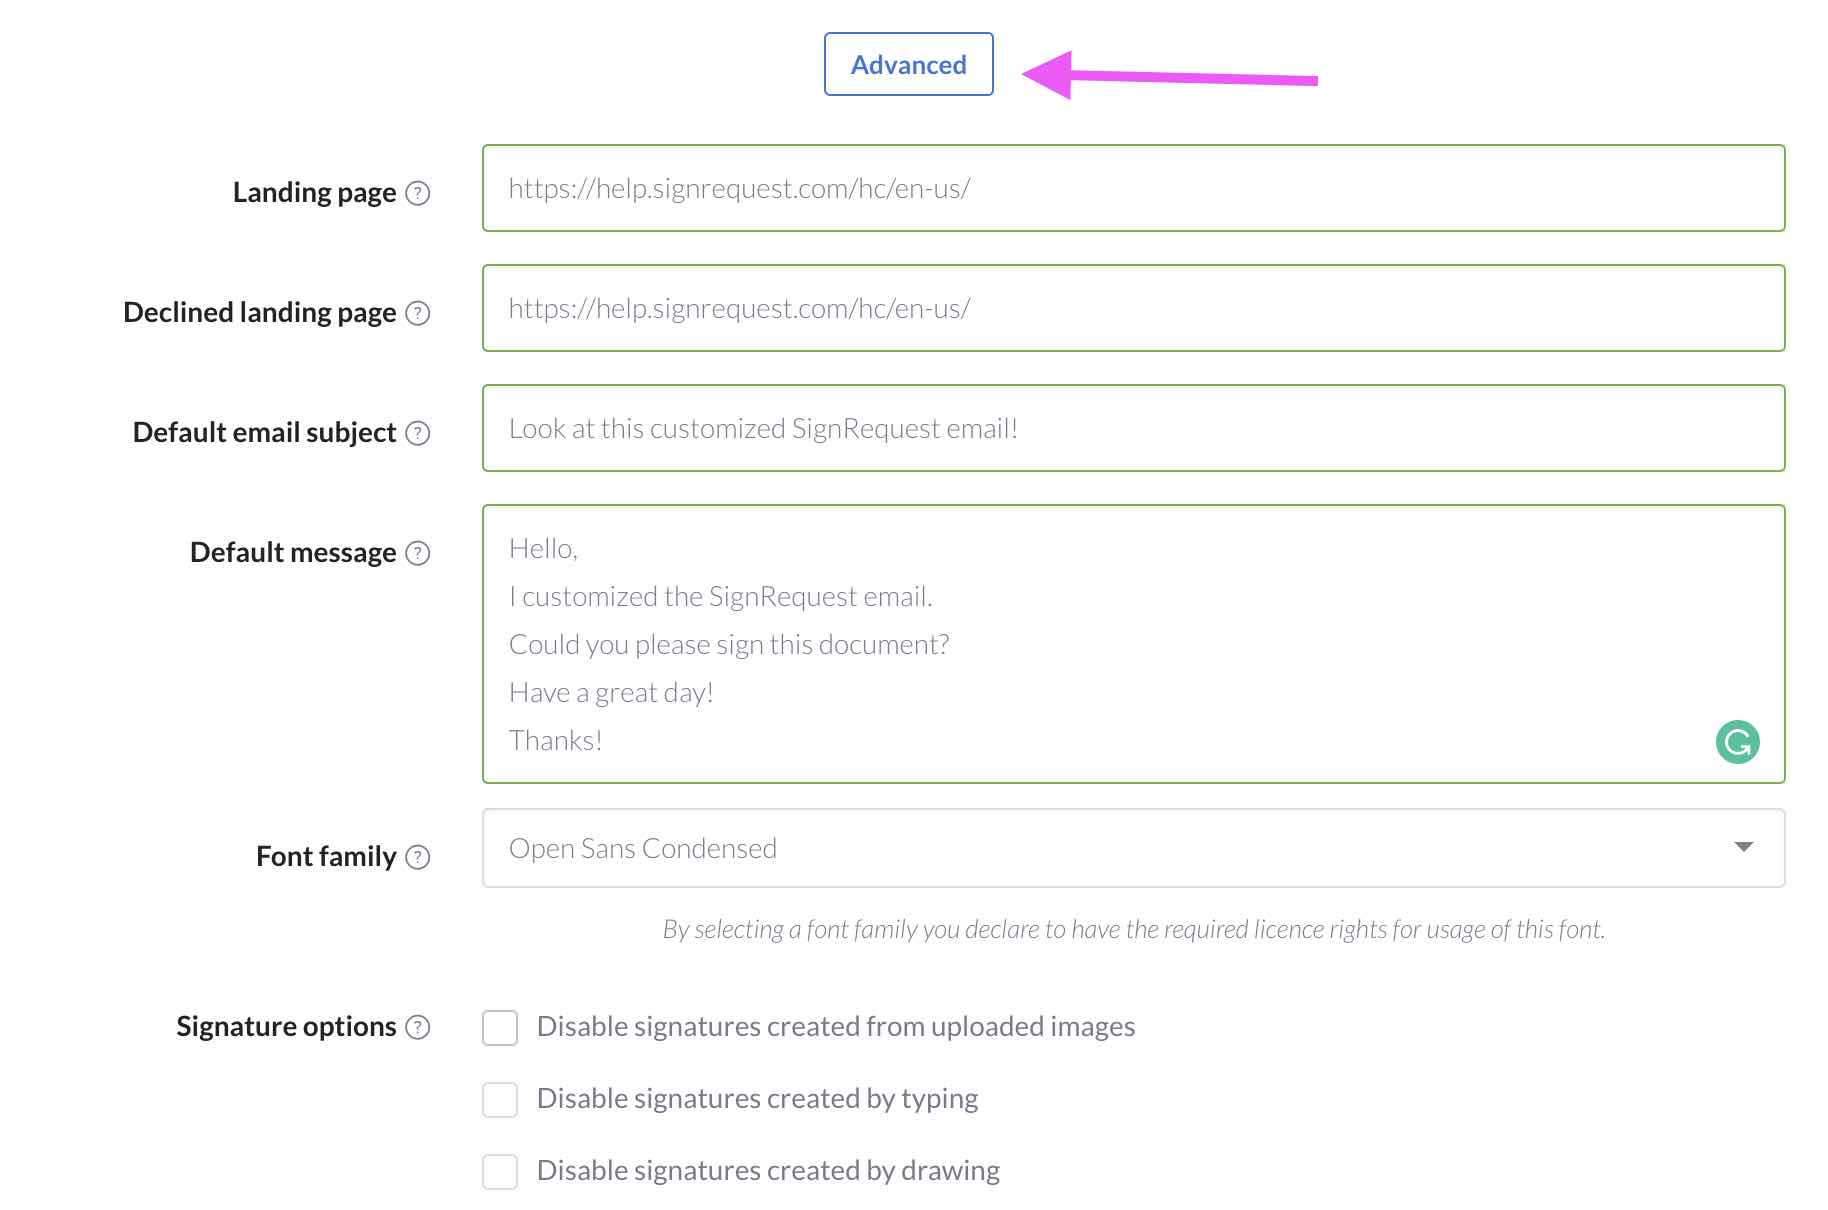
3. Next, click the "Advanced" tab to further customize your signer's experience.
Here you can create:
- A Landing Page for your signers to be redirected to after they have signed.
- A "Declined" Landing Page for your signers to be redirected to in the event that they "decline" to signing the document.
- A Default Email Subject which will appear in the email the signers receive.
- A Default Message which will appear in the "body" of the email.
- An optional ability to choose your font "family".

*Keep in mind, if you are sending a saved template that has Default Email Subject and Message settings, then the Default Template settings will override the Default Team settings.
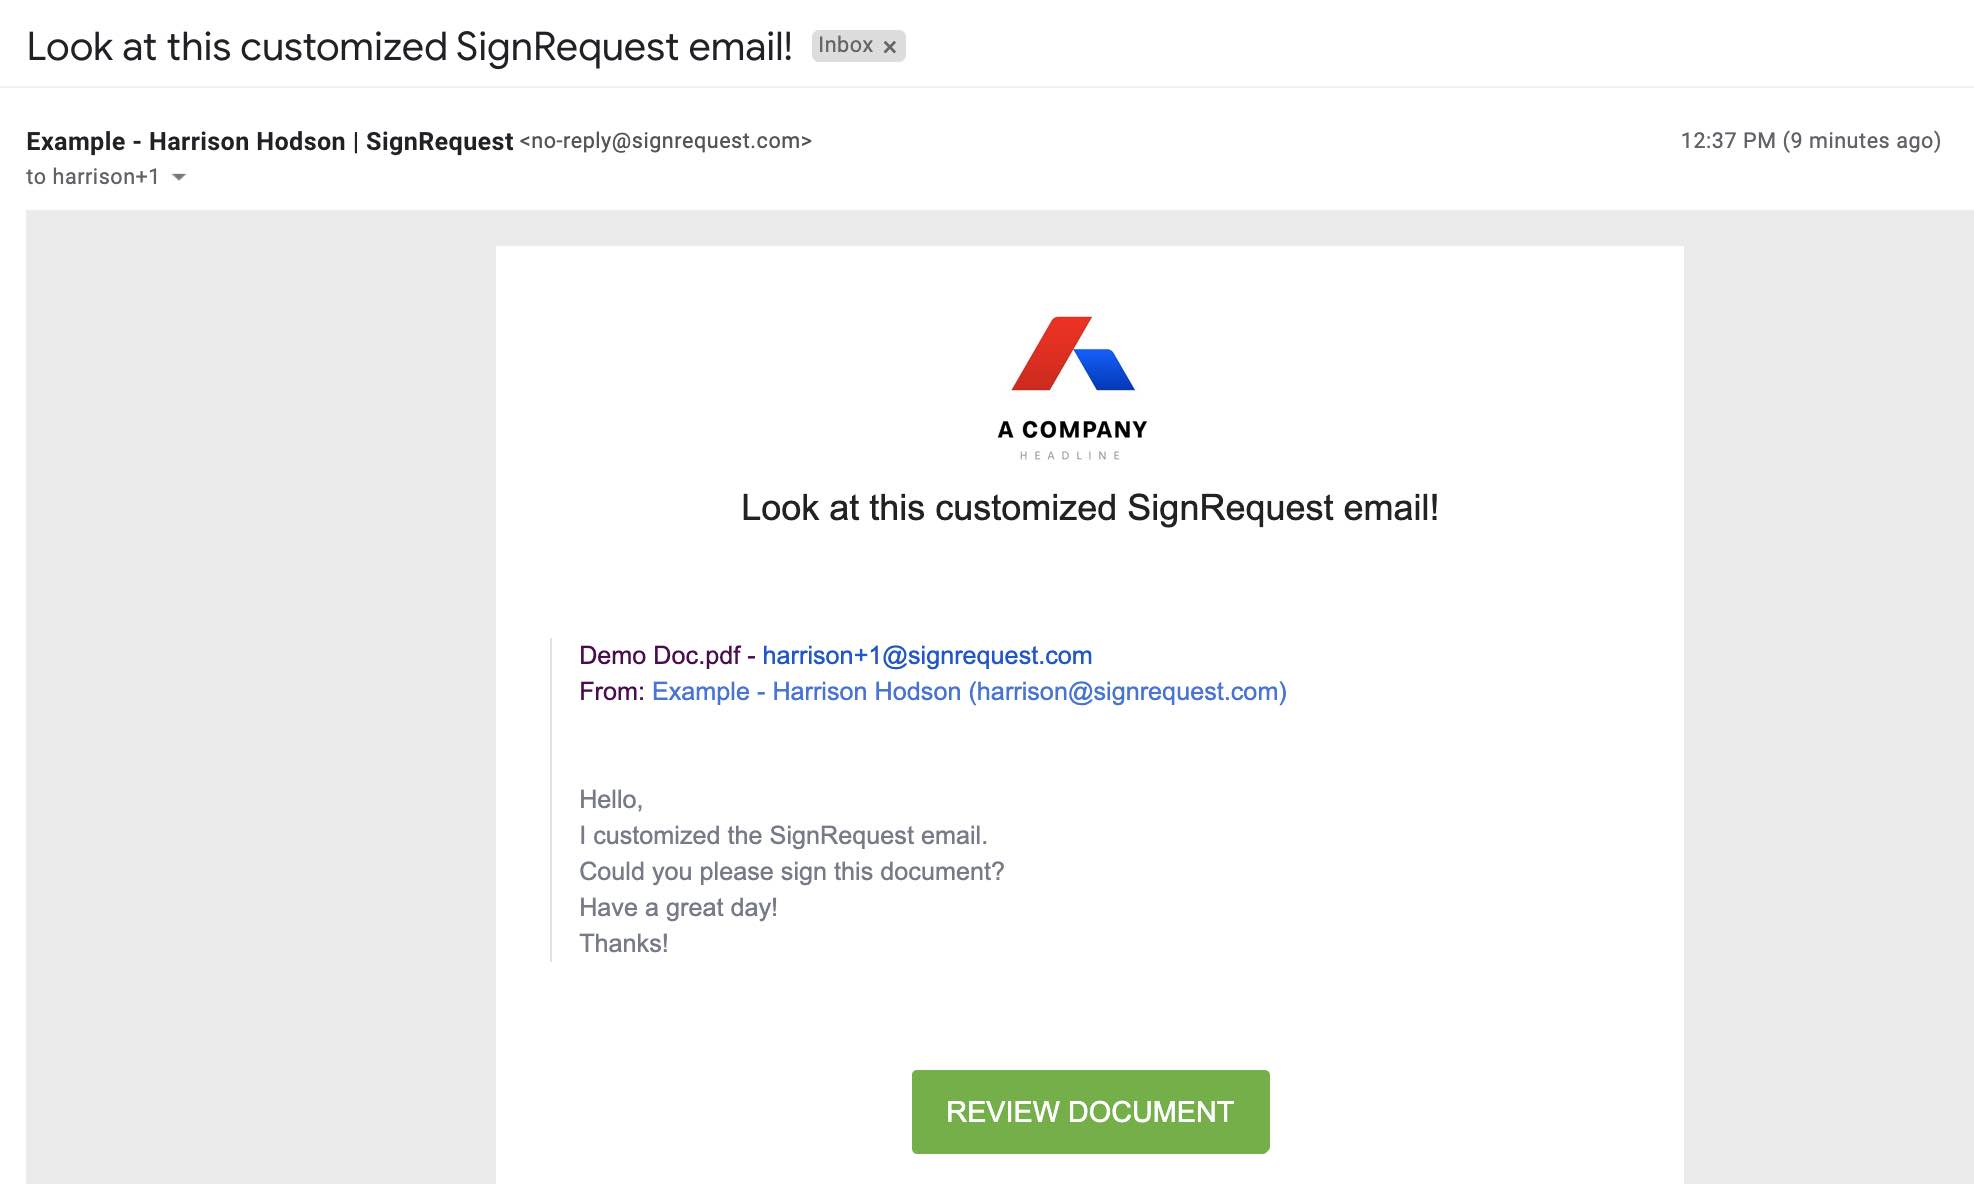
See example custom email:

*The "From" line includes "Name of Team" - "Account Name" - "Email address of sending user". If you don't want the "Account Name" to appear on the SignRequest emails, you can leave the details name fields blank on the 'Account' page.
Let us know if you have any additional questions!