Tutorial
Introduction
If you need to get the exact same document sent out to a large number of signers at once, that results in multiple signed documents with individual inputs and signature(s), you can use the bulk send feature. How to purchase Bulk Send
Important: This feature only allows you to get the document signed by external signers (Only Others). So, you cannot sign it yourself within the bulk send. In that case, for now, you could upload a document that has already been signed by yourself.
The recipients will not see the details of other recipients' documents while using the "Bulk send" feature.
You can either send a bulk send without pre-filling data in case you only need a signature or have the signer add all the input or you can automatically fill data from a generated xls excel file into the SignRequest template.
With the bulk send feature you can send a SignRequest to up to 1000 signers at once. Make sure to test the template extensively with several of your own email addresses before sending out a bulk send.
Note: If you add multiple recipients in the normal SignRequest "Contact(s)" field they will all sign the exact same document, see each other's details and all signatures will be added to one contract. (E.g. 10 signatures on one document, instead of 10 documents with 1 signature which is the case with the bulk send feature.)
1. Sending a bulk send without pre-filling data
First, you'll need to create a template within SignRequest.
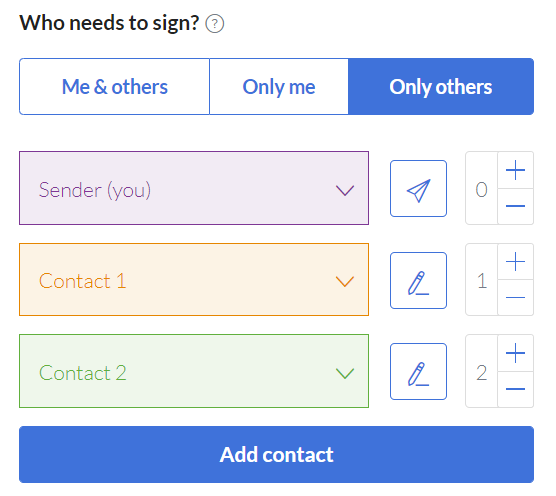
When creating a template for bulk send you choose "Only Others" at Who needs to sign. If you do want your own signature on the document, simply sign the document yourself before uploading it as a template. This way you avoid having to sign up to 1.000 copies of the contract.
After creating the template, you can select "Bulk send" on the template page.
2. Sending a bulk send with pre-filling the template
You can automatically pre-fill the SignRequest template with data you already have, such as the name and address of your signer.
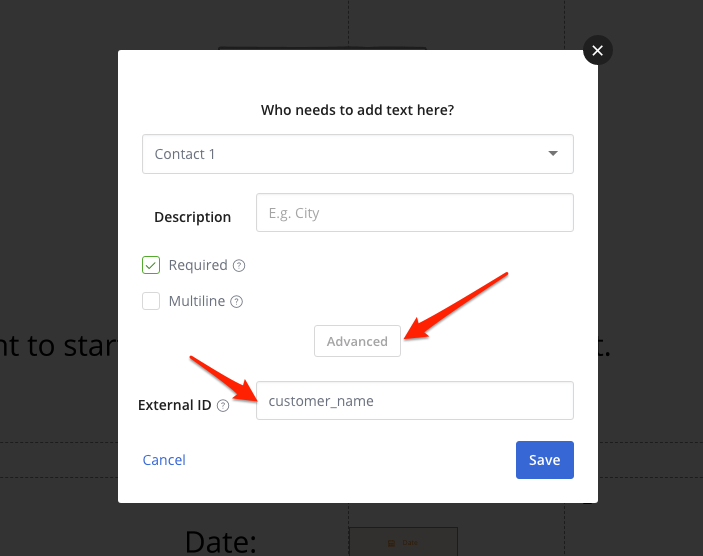
First, you add an ID to all the template fields that you want to pre-fill. Open the field, click 'Advanced' and add the external ID. You'll use this ID in the excel file as well.
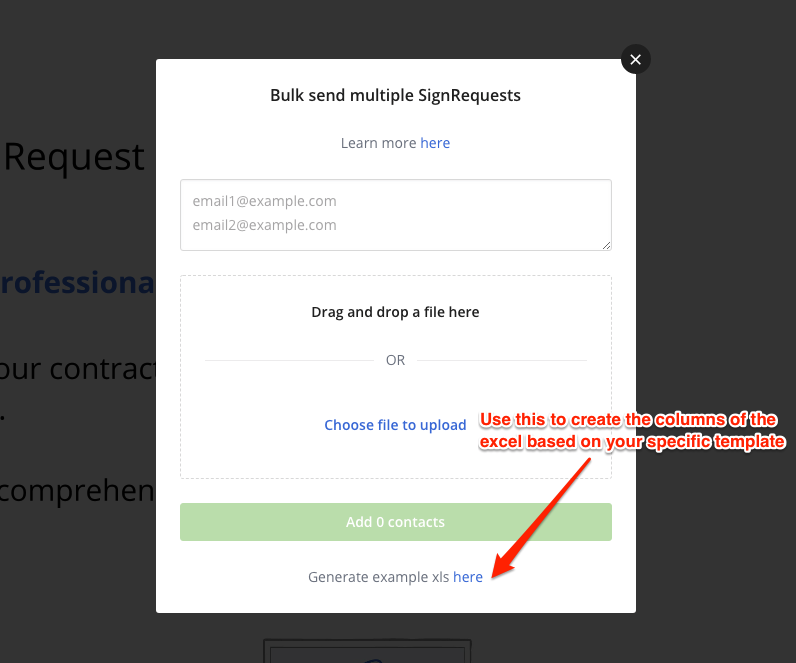
Once you've made the template you can generate an example excel that lists the columns based on your external IDs.
You'll need to have all the data in an excel file. Below is an example of a simple excel file.

The data in the column 'prefill__customer_name' will be added to the template in all fields that have the ID 'customer_name' (as shown in the step above). You can add as many columns as you need.
In the column 'contact_1_email' you can add the list of email addresses that need to receive the bulk send.
Once you've made the excel file with all the necessary data you can upload the excel after clicking 'Bulk send' in your template overview.
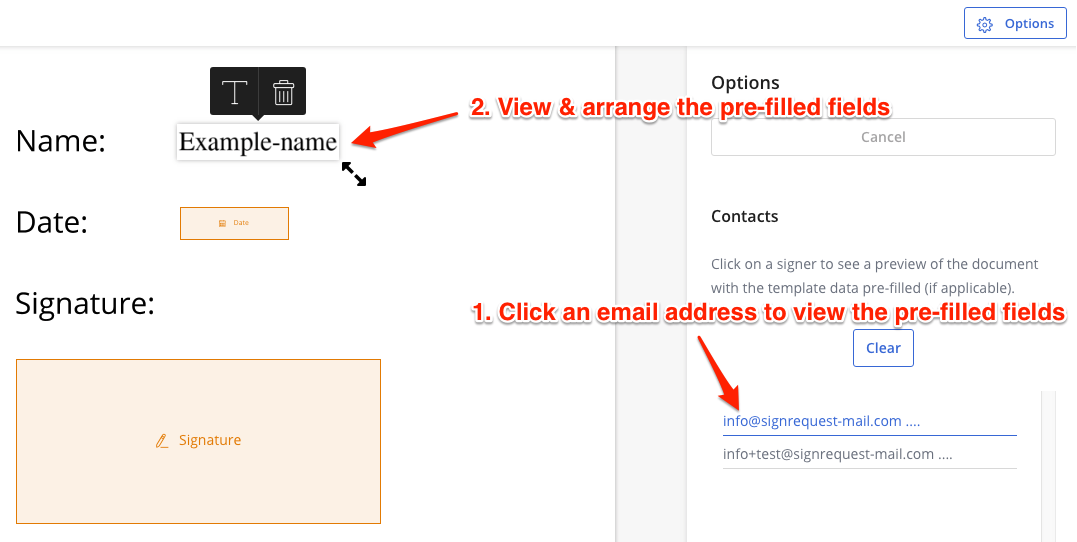
You can check whether or not the fields are pre-filled correct.
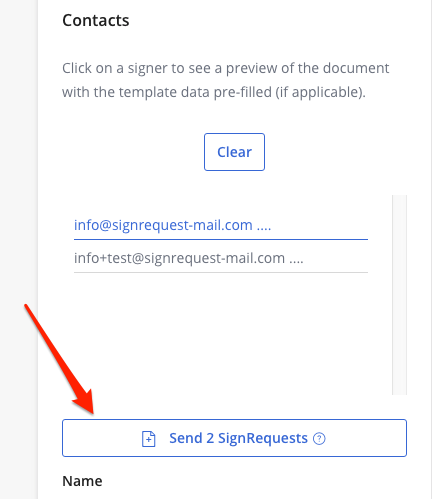
If you're satisfied you can send the SignRequests.
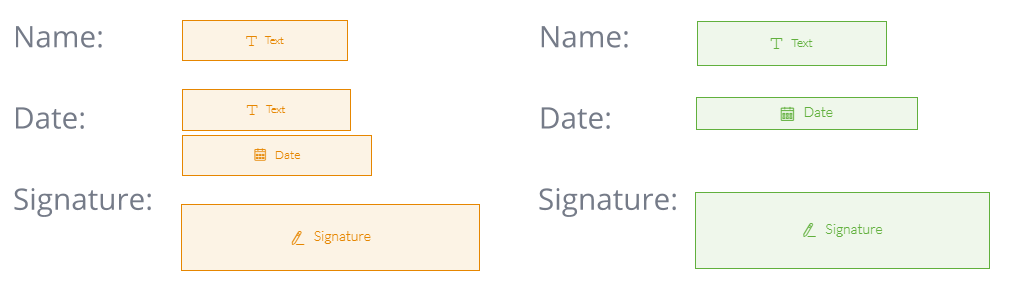
3. Sending a bulk send with multiple signers on each document
It is possible to have multiple external signers, fill in and sign a document using the 'Bulk Send feature.
When setting up your 'template', you can assign placeholders for multiple contacts. A xls excel file will need to be generated to add multiple contacts to a 'Bulk Send'.
If you are pre-filling data for each contact, you need to add 'external ID's' to each placeholder field that you want pre-filled with data. Refer to Step 2 in this article above ↑↑
You can also set a signing order, so your contact(s) are required to sign the document first before it is then sent to the next signer in the signing order to fill in and sign.
The following is an example of what the prefilled data looks like when added to the generated xls excel file.

NOTE: It is also possible to set a contact as 'Approve Only' with the Bulk Send feature. If at least one contact is required to 'sign' or 'approve' the document, it is also possible to set a contact as 'Notify Only' or 'Copy Only'. To see what 'actions' can be assigned to a contact, have a look here.